Mike has recently begun his culinary adventures, leading us to the situation where we now often have three individuals simultaneously commandeering the kitchen, using various appliances and utensils. This has highlighted an urgent need for additional storage space. And, as you're already aware, I take great pleasure in pushing my limits with do-it-yourself projects, converting challenges into creative opportunities...
Here are the simple plans and personal goals I've made for our upcoming kitchen enlargement:
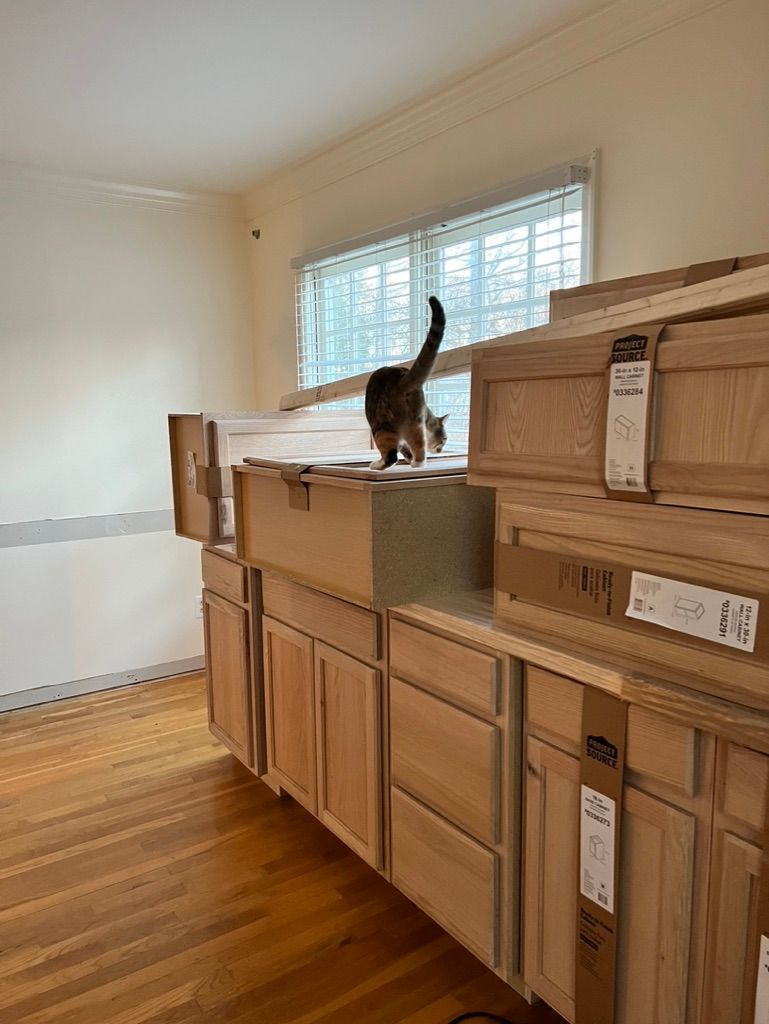
- Save money by using discounted, not yet finished cabinets and other kitchen items bought from Amazon.
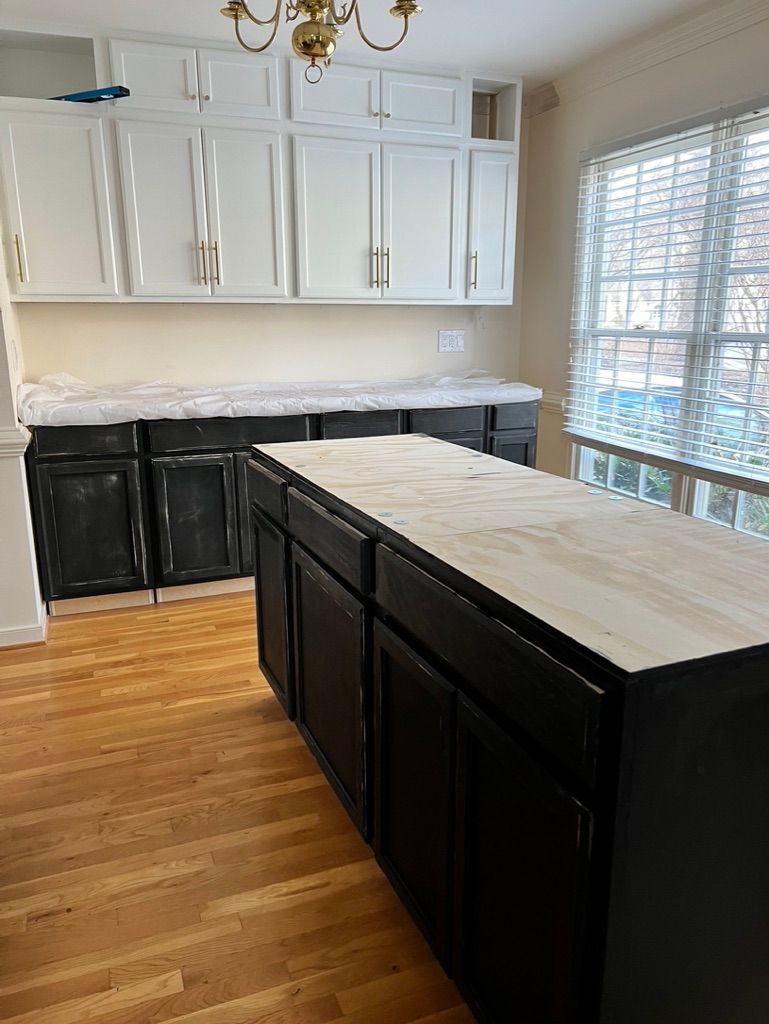
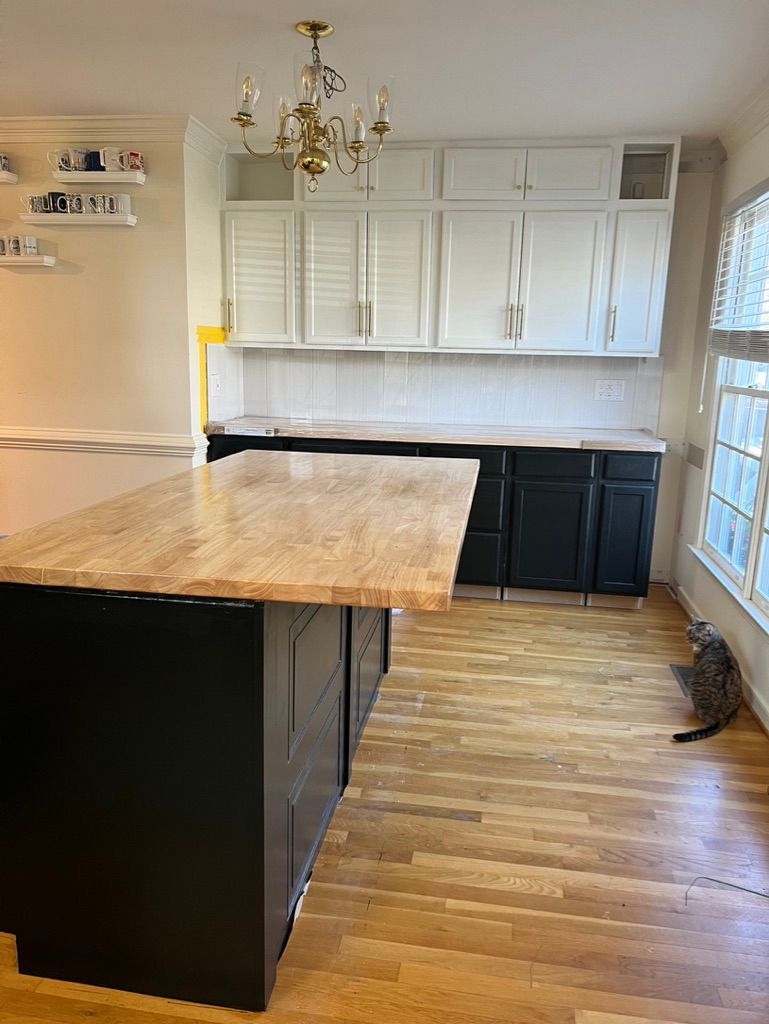
- Design in a way that connects the style of the kitchen, with its white cabinets, and the living room, with its black furniture.
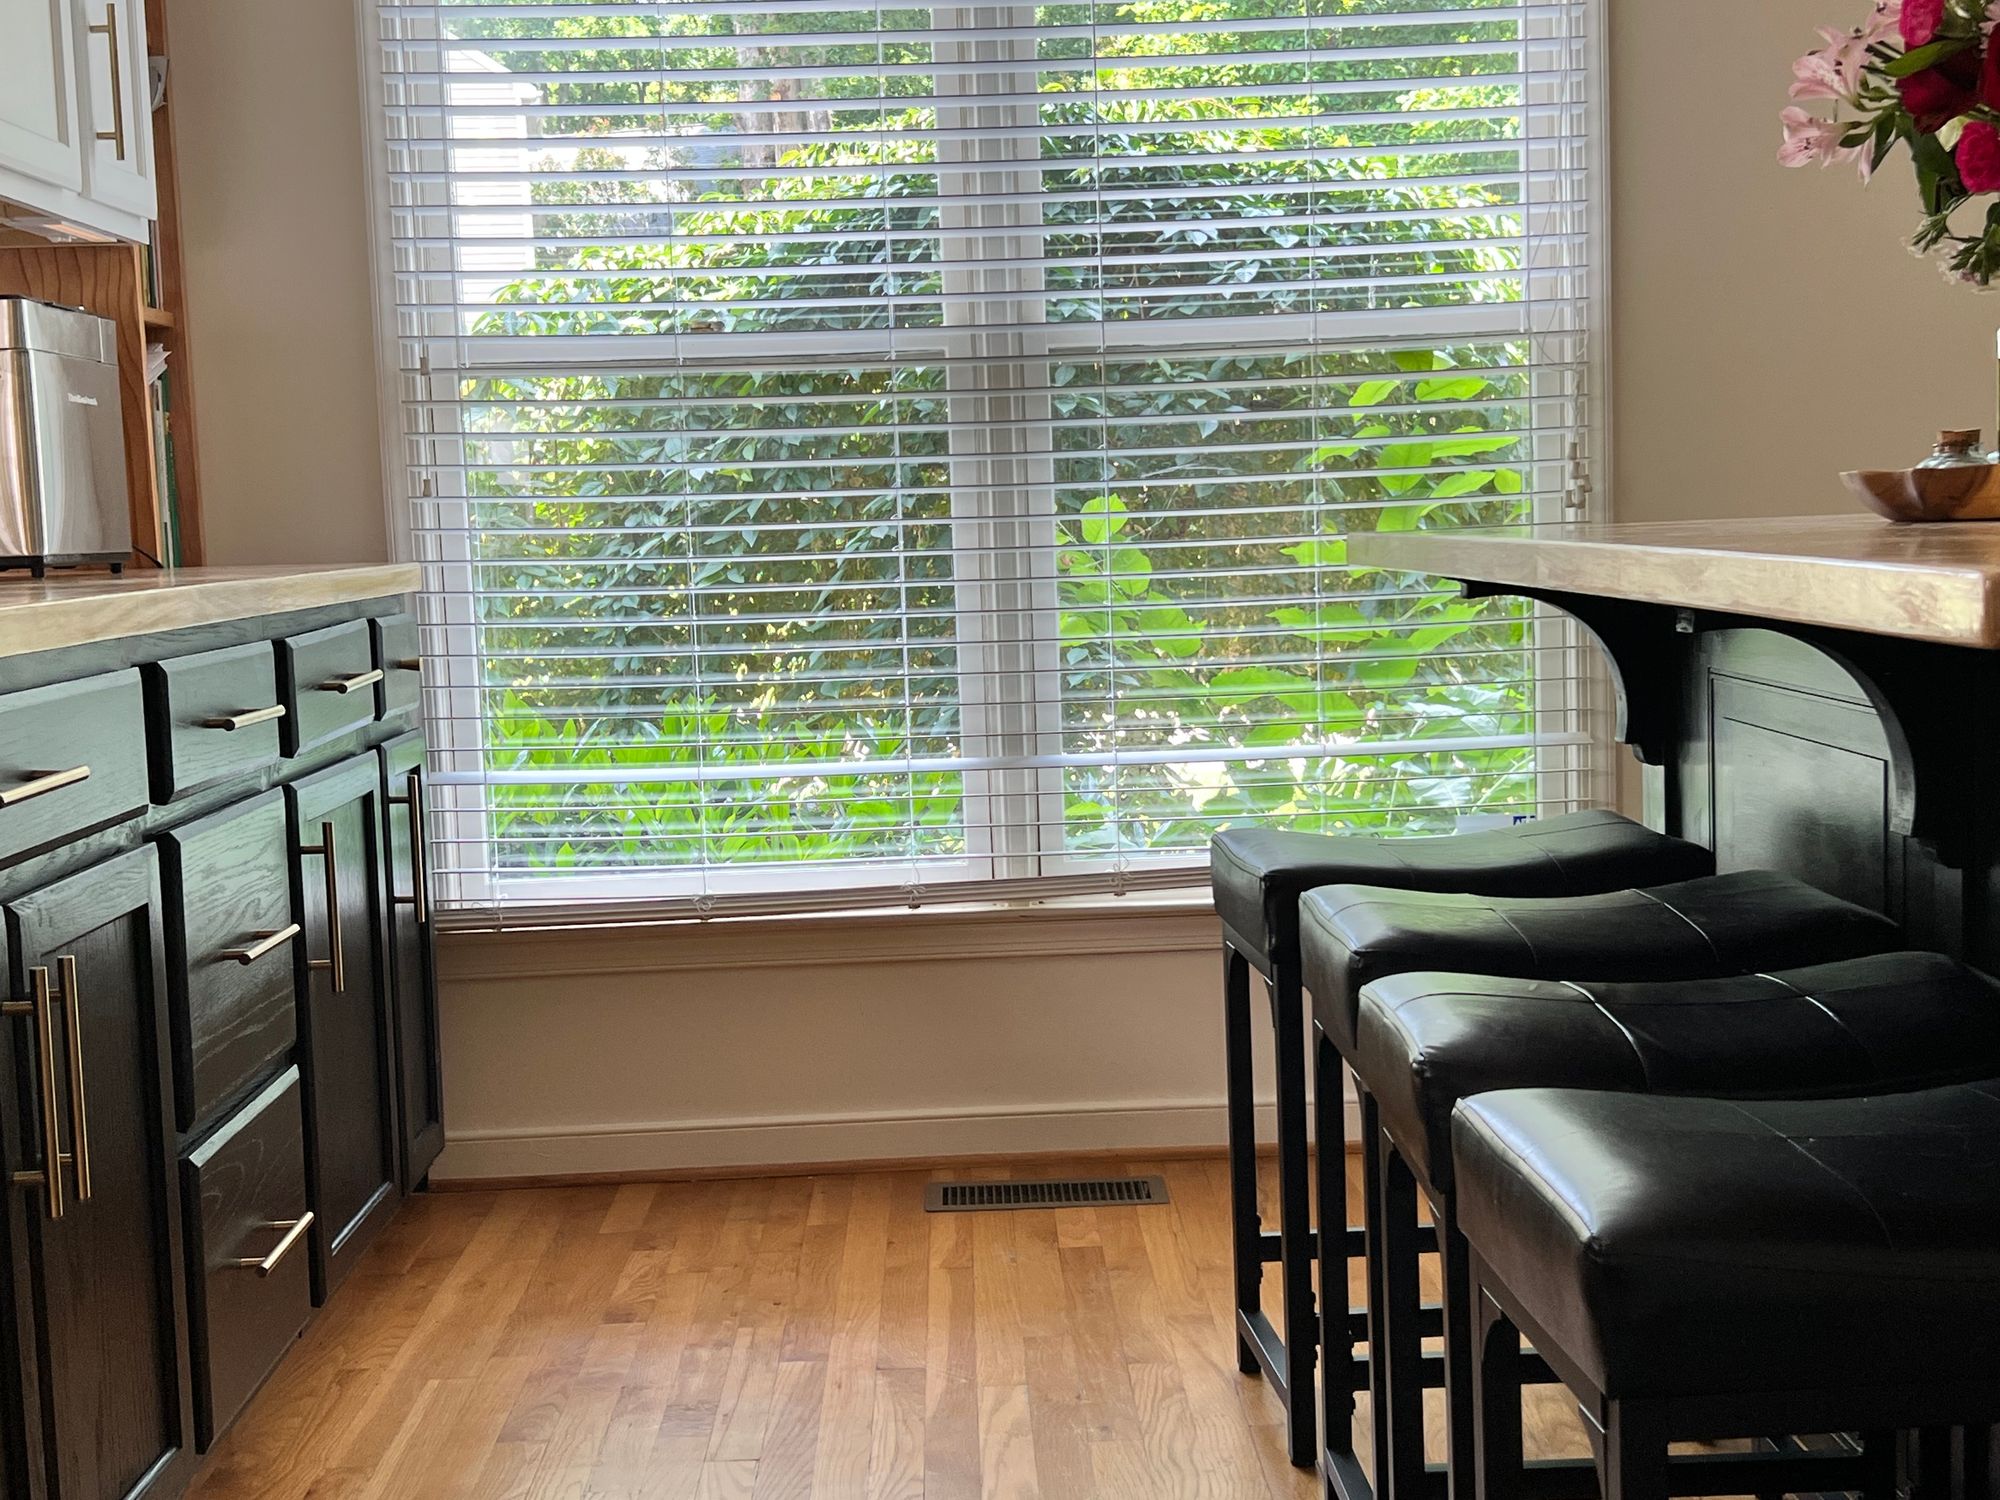
- Find a clever way to use a difficult area on the right side where a window stops us from making it bigger. Also, remember the butcher countertop would be too costly if made too long.
- Make the space as comfortable and stylish as possible to ensure it gets used a lot.
- Focus on making storage easy to reach and useful, trying to use every bit of space possible.
The first challenge was to find matching cabinets: top and bottom lines. It required several tries and searching through all local Lowe's and Home Depot stores.
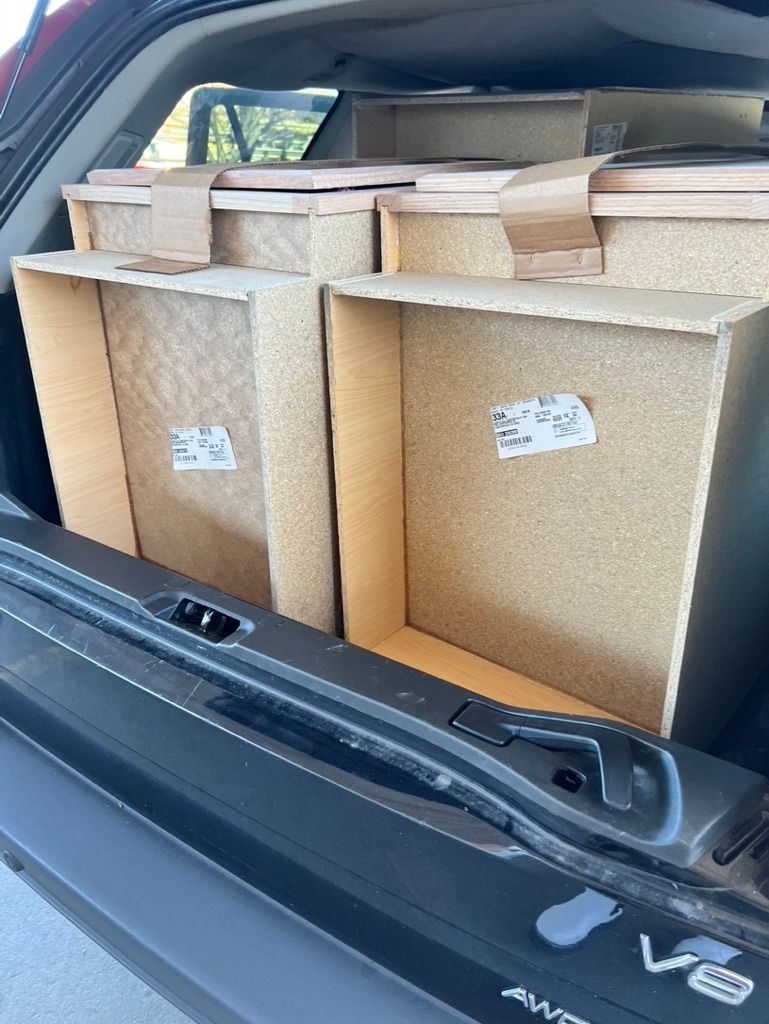
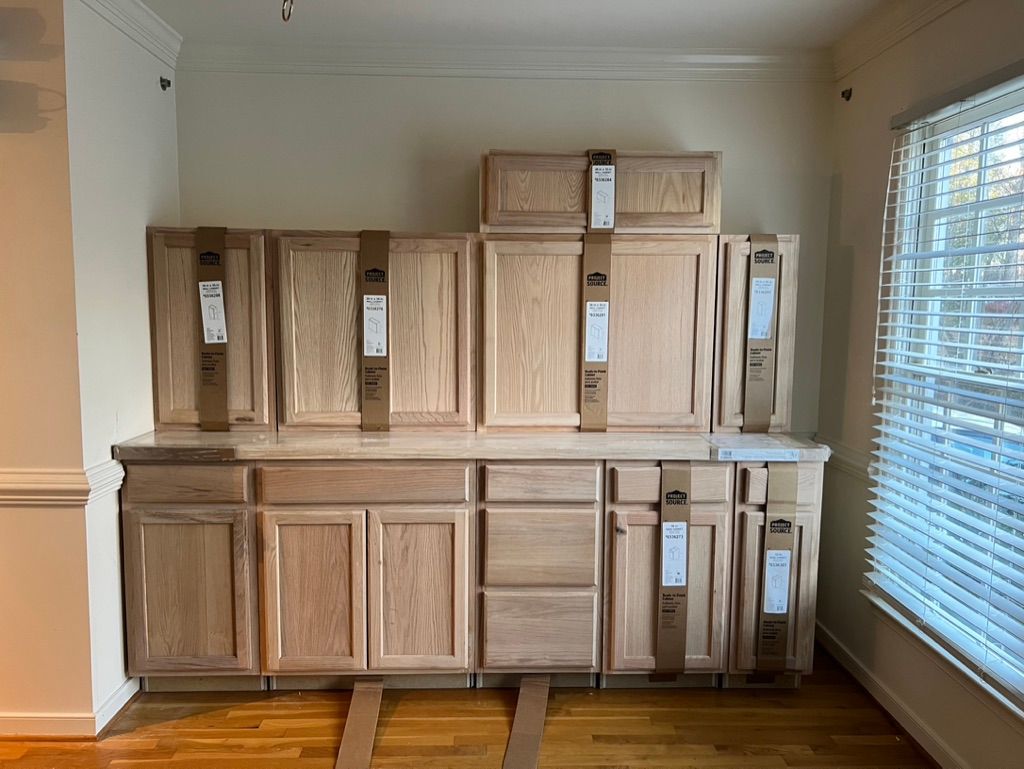
Finally, everything is matched and looks good together.
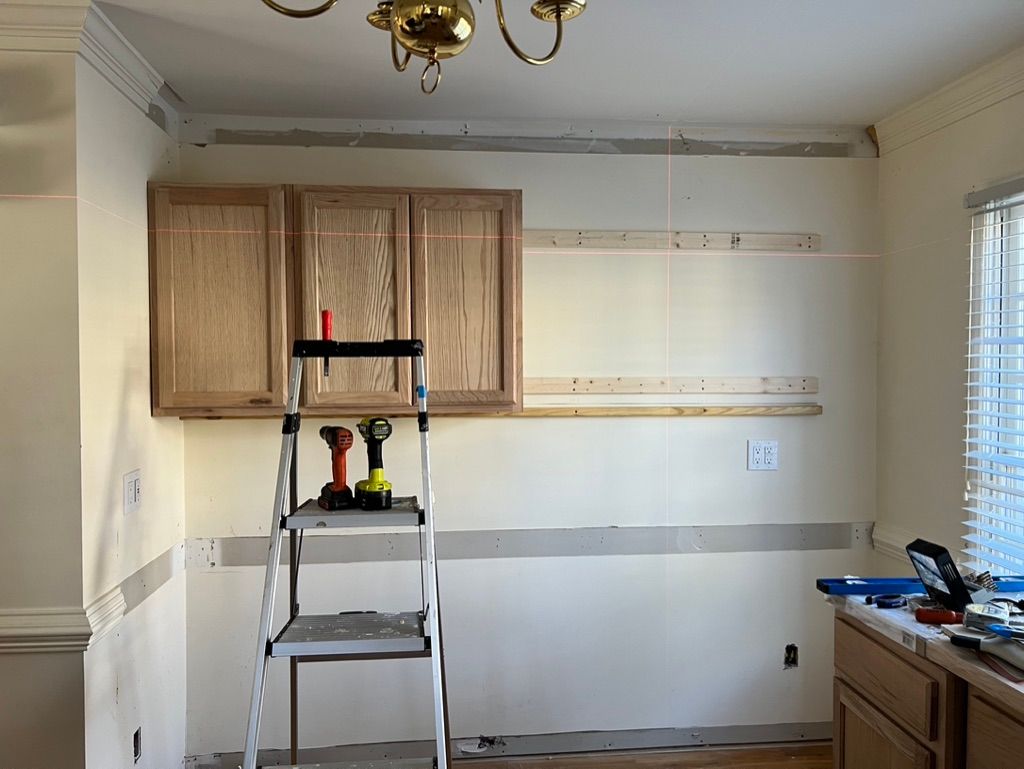
Use the laser level and temporary 2x4 under the upper cabinets that makes work way easier!
You also must have two cats - there is no way, I would do any job without their tireless support!
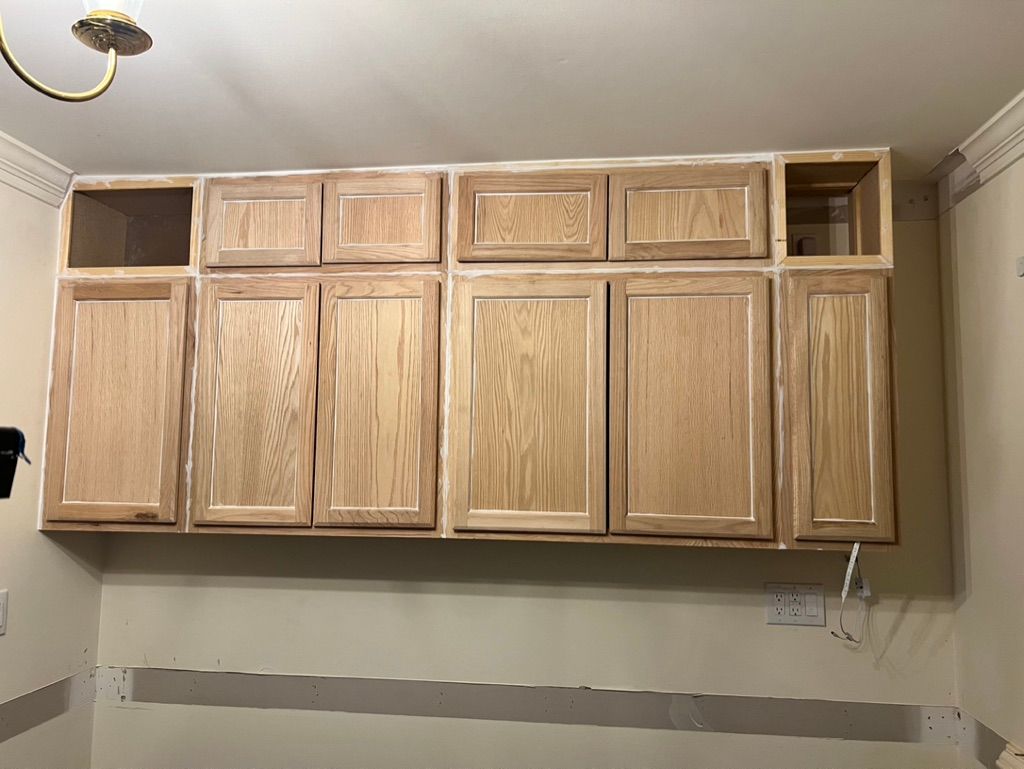
I decided to save money and make two "plants window" in the upper row instead of cabinets. I didn't like to waste space on ugly traditional molding as well.

"Unfinished" cabinets require a lot of labor and endless sanding and polishing.
Use only acrylic caulking (no silicone!) or even wood filler as it will be easier to sand it down.
Because it was also a huge kitchen island/bar table in the project, I would say I spent 2/3 time of the project on sanding.
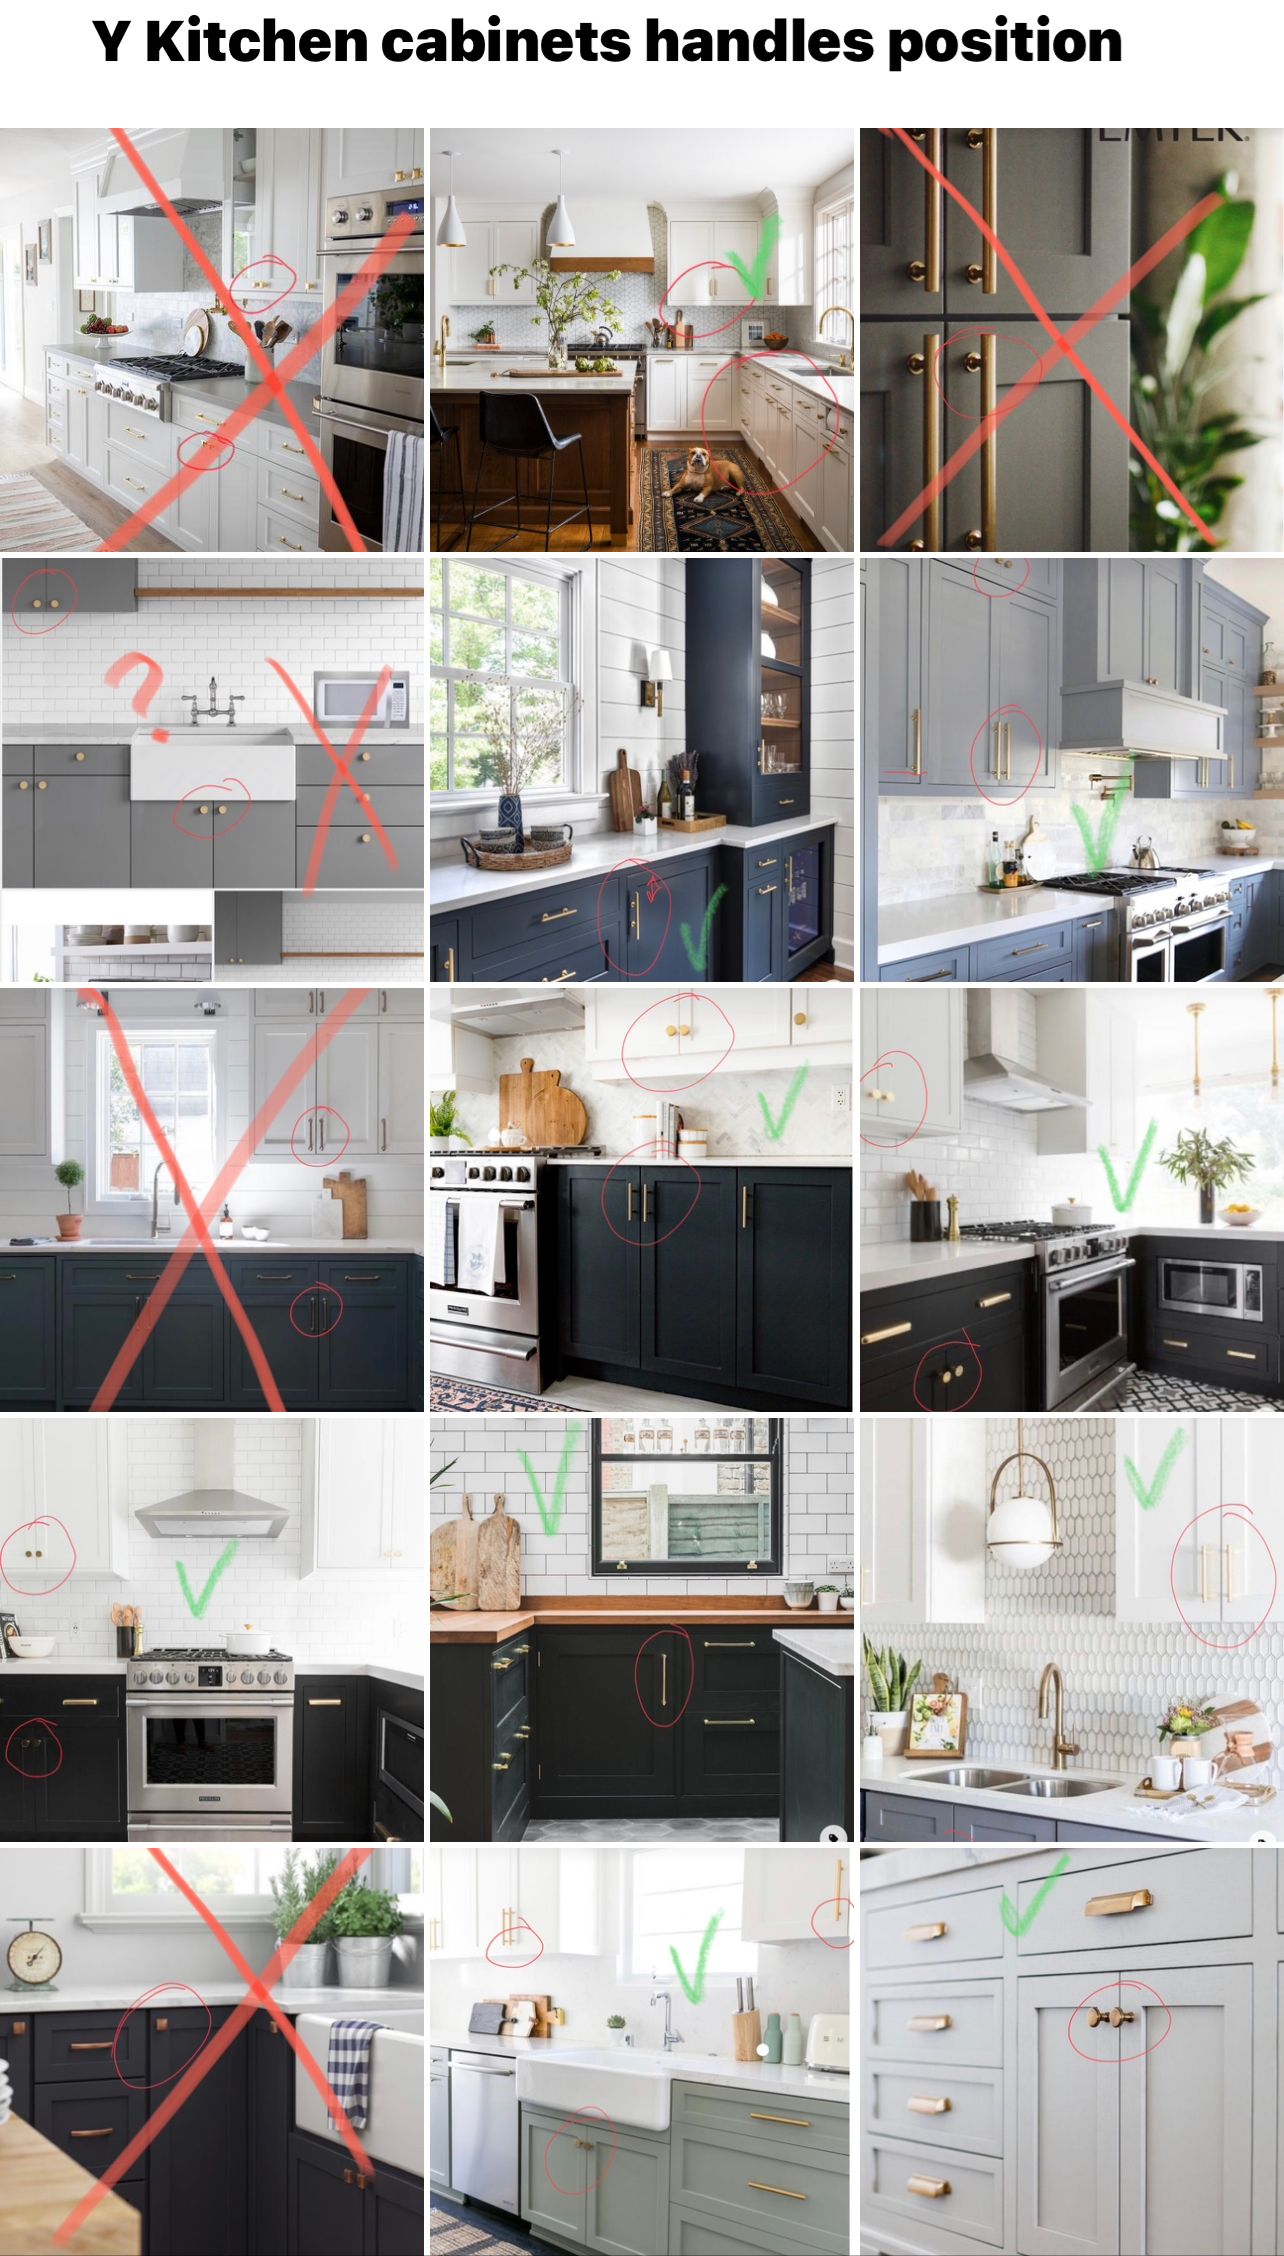
Almost three weeks I spent on choosing handles design and figuring out of exact handles' position. I still think that (the handle positioning) it's a crucial part of the kitchen design that can spoil the entire picture:
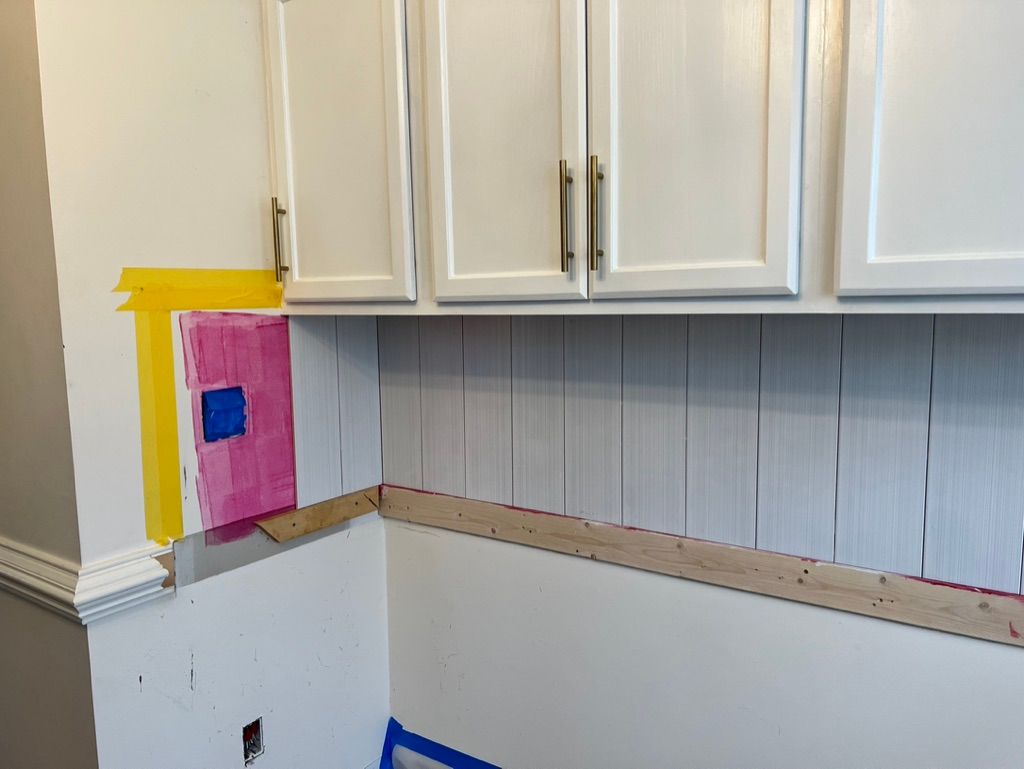
One extra challenge was to put tiles around electrical receptacles. Again: the temporary 2x4 support under tiles - helped a lot!
I recommend using a bit more expensive yellow masking tape for silicon caulking - it can be removed without damaging paint or silicon edge even after 2-3 days.
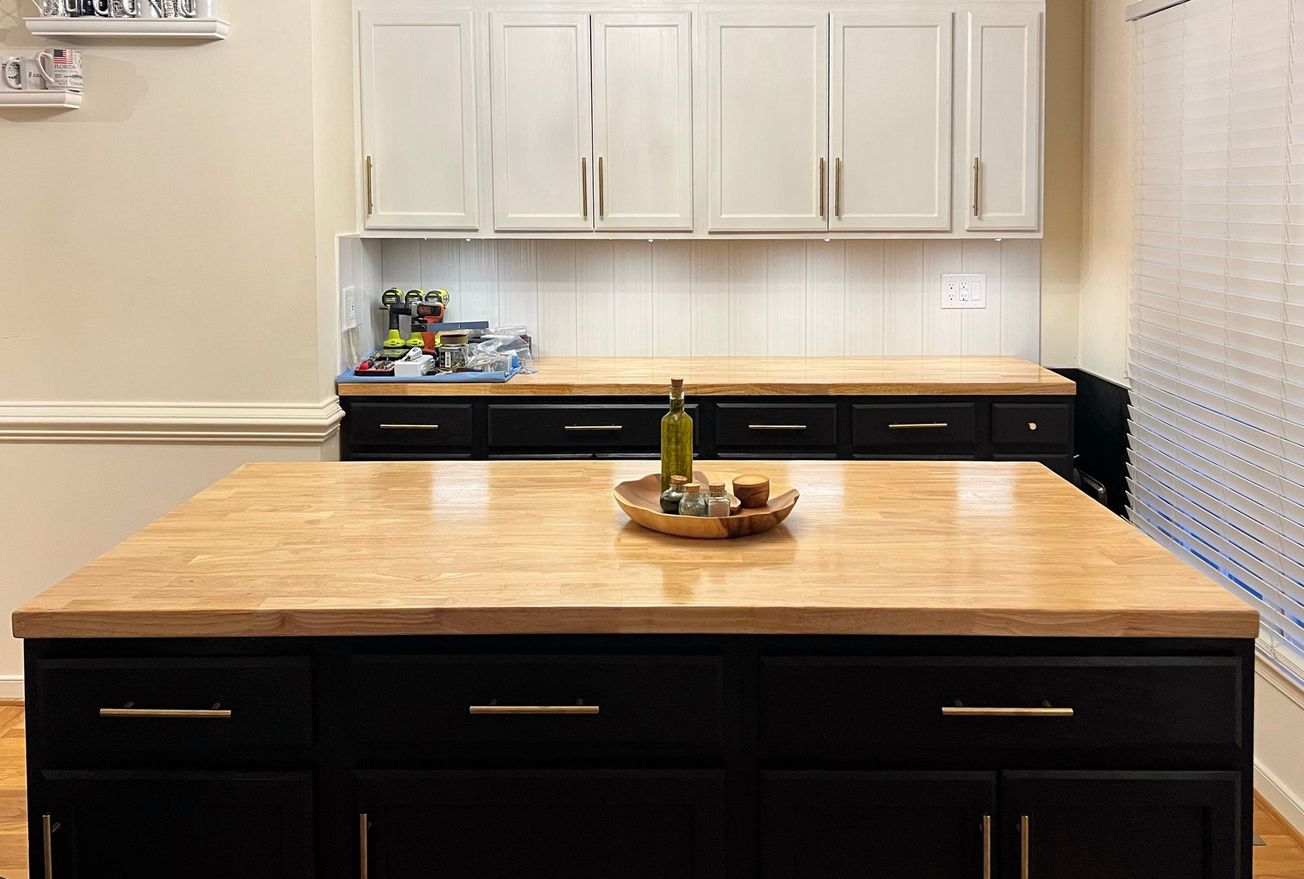
The next challenge was leveling and painting with polish two countertops:
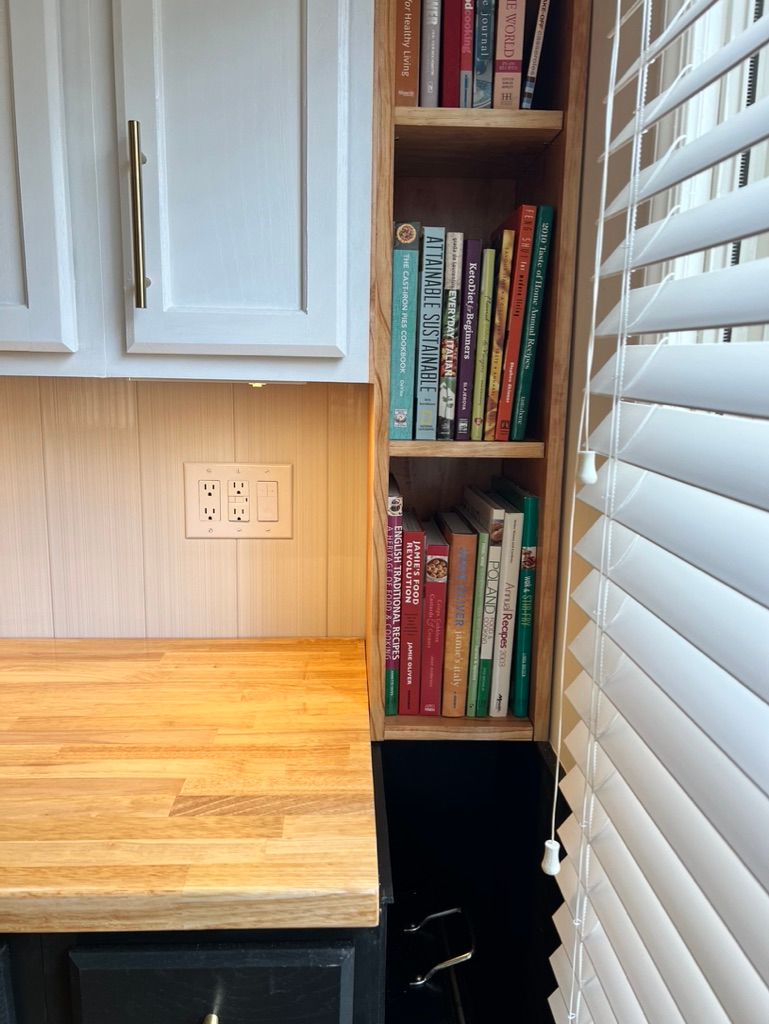
The last challenge was to build and fit a custom-made shelf for cooking books in the space that was a "left over" from the countertop length but too small for full-length cabinets. Full-length cabinets are also very expensive compared to those in the pictures.
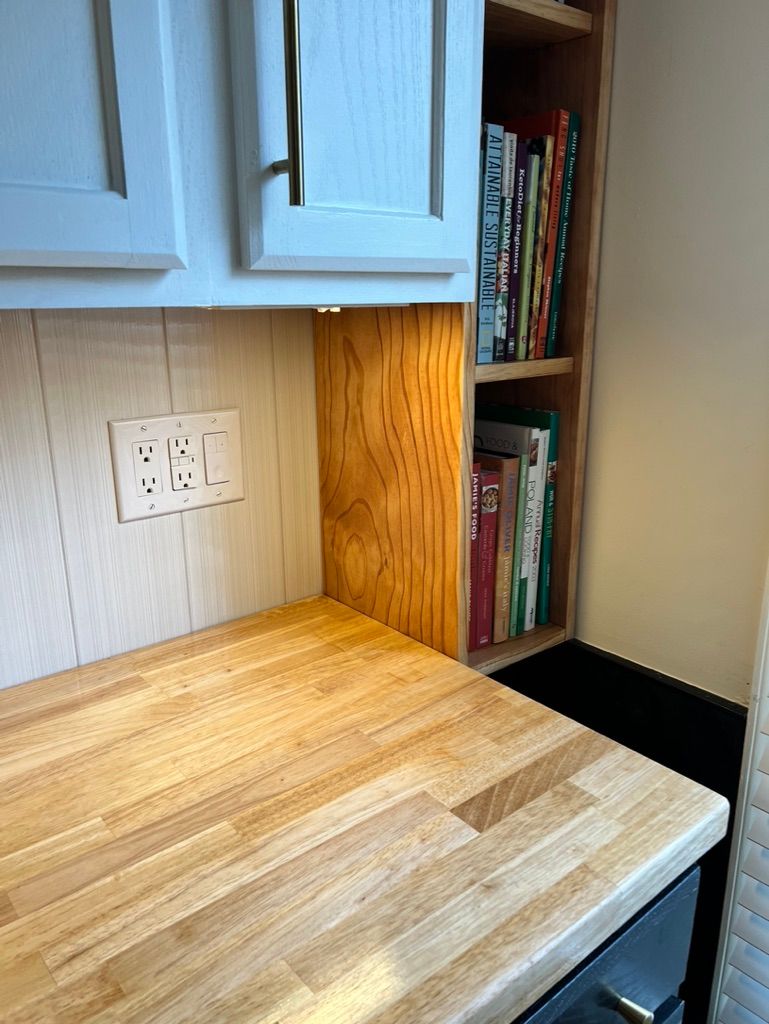
Under the shelf is the nook (open shelf) for over pans and trays. This honored large space is a long-time waiting-for storage space for the big Thanksgiving turkey roast tray.
I decided to rotate the kitchen island in a bit nontraditional position. Usually, it stands in the way where people who sit at the bar table can observe the kitchen, but we have a TV screen in the big room and it would be strange to sit back to that. After some thinking, I decided to make the kitchen island movable, so it can be moved to any position if we decide to sell the house. Now it standing in the position that works for us.
The project took 2.5 months, considering business travel and a full-time job, and working on this DIY project only at weekends and after work. Cost about $2,900 with all consumables, countertops, handles, and even soft-close fixtures for each cabinet door! After testing this kitchen extension for three months, I can say that it works really well, providing a lot of space for some occasional kitchen appliances we are using, like a bread maker or pressure cooker.
If you like to see more of my DIY projects, please leave a couple of words in the comments or send me a message.


